Parts and Tips
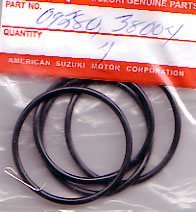 On a 1980-1983 GS 850, the o-rings are Suzuki part number 09280-38004. You can order them from any Suzuki dealer or from Ron Ayers or Bike Bandit. If you're ordering more parts at the same time, Ron Ayers is a bit cheaper than Bike Bandit, but you'll need to find part numbers on your own. In any case, the four o-rings should total less than $5, which is probably less than the shipping costs.
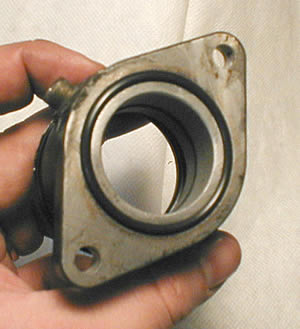
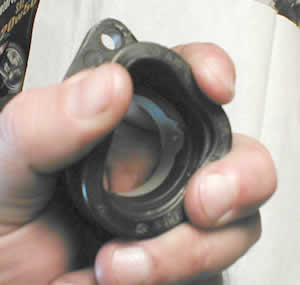
In order to withstand the extreme heat of the cylinder head, these o-rings are made of a special material called Viton. Don't substitute o-rings from the hardware store or from an assortment!
You can order Viton o-rings that will fit from McMaster-Carr in standard "inch" size 128. They come in packs of 25 for about $11.00, so there's really not much savings unless you're doing more than one bike, or you just like having a lifetime supply on hand. The diameter is a perfect fit, but these o-rings are also a bit fatter than the Suzuki o-rings, which might be good or bad.
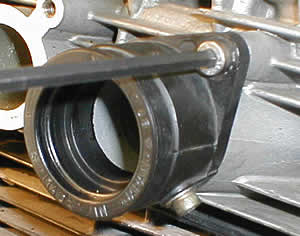
Be prepared for the cheesy phillips screws holding the intake boots to strip out. When (not if) this happens, simply cut a slot in the head of the screw with a hacksaw blade or a Dremel tool (make sure you catch the shavings) and use an impact driver with a flat blade to remove the screws. You can also just drill the screw head off and remove the stub with Vice-Grips, but this will probably damage the intake boot.
Replace these screws with allen head bolts from your local hardware store. I always use stainless steel.
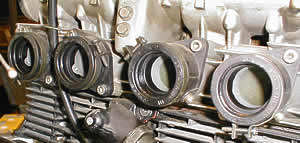
Make sure you check the intake boots thoroughly. If, judging from the screws, they have never been replaced, check them carefully for excessive stiffness, cracking, or pulling apart. (See the rant on the left.)